Okay, friend, let’s talk about one of my go-to, sanity-saving treats: Halloween Oreo Bark! Seriously, this stuff is magic. It’s the perfect balance of chocolatey goodness, crunchy Oreos, and spooky fun. But the real magic? It takes, like, zero effort. I first made Halloween Oreo Bark with my oldest. It was a rainy October afternoon, and we were all stuck inside, bouncing off the walls. I needed something to distract us, something fun, and something that wouldn’t require me to spend all day in the kitchen. I remembered seeing a version of Halloween Oreo Bark somewhere and thought, “I can do that!”
The giggles and the sticky fingers were totally worth it. That first batch of Halloween Oreo Bark wasn’t perfect. I think I slightly burned the chocolate. But honestly, the kids didn’t care one bit. They devoured it! It became a Halloween tradition after that.
This Halloween Oreo Bark fits perfectly into my family life because it’s quick, easy, and the kids can help. Plus, it’s festive and fun, which is exactly what we need during the chaos of October. I know so many of us are in the thick of costumes, school events, and trying to make memories without losing our minds. So, if you’re looking for a simple treat that will bring some smiles to your kitchen table, keep reading, my friend. This Halloween Oreo Bark recipe is for you!
INGREDIENTS You’ll Need:
Here’s the super simple list of ingredients you’ll need to whip up this spooktacular treat. Don’t worry if you need to make a swap or two. I’ve got you covered with mom-tested alternatives!
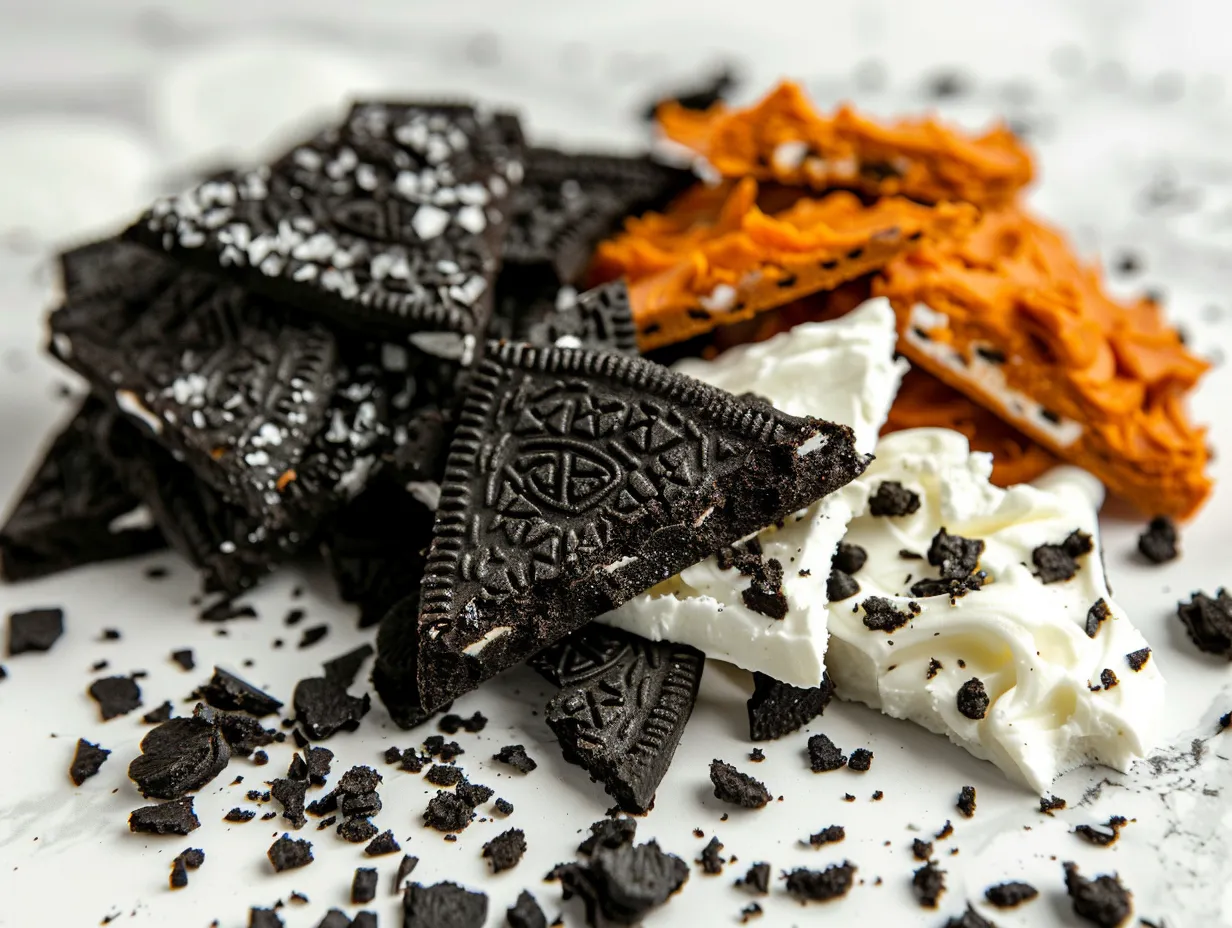
- 16 oz. White Chocolate Chips: This is the base of our Halloween Oreo Bark. I usually grab Ghirardelli, but any brand will work.
- 1 package (about 14 oz) Halloween Oreos: The star of the show! I always grab the Halloween-themed Oreos for extra festiveness.
- 1/4 cup Halloween Sprinkles: Because sprinkles make everything better, right? I usually snag a mix from Target while doing my grocery run.
- 1 teaspoon coconut oil this helps the chocolate stay smooth and keeps it from burning.
No worries if you don’t have white chocolate chips. I’ve used milk chocolate in my Halloween Oreo Bark recipe plenty of times. It tastes delicious! You can also use different kinds of Oreos. Regular Oreos work just fine, or you can try Golden Oreos for a different flavor.
This Halloween Oreo Bark recipe doesn’t have to break the bank! You can find store-brand chocolate chips and sprinkles that work just as well. The most important thing is to have fun with it!
My family loves when I add a little sea salt on top of the Halloween Oreo Bark. The salty-sweet combination is amazing! Speaking of storage, keep your finished Halloween Oreo Bark in an airtight container at room temperature or in the fridge. It will last for several days (if it lasts that long!).
Trust me, this Halloween Oreo Bark ingredient list is short because mama doesn’t have time for fancy! But even with minimal ingredients, the results are seriously impressive.
Let’s Make it Happen!
Alright, let’s get down to business! Here’s how to make this easy Halloween treat, step-by-step. I’ll be right there with you, cheering you on!
- Melt the Chocolate: Pour your white chocolate chips and coconut oil into a microwave-safe bowl. Microwave in 30-second intervals, stirring in between, until the chocolate is completely melted and smooth. Be careful not to burn it! The chocolate will melt quickly, and burning chocolate makes an awful mess that I’ve cleaned up one too many times.
- Spread the Chocolate: Line a baking sheet with parchment paper. Pour the melted chocolate onto the parchment paper and spread it into an even layer. Aim for about 1/4 inch thickness. Here’s where I used to mess up my Halloween Oreo Bark. I’d make the chocolate layer too thick, and it would be hard to bite into. Don’t make my mistake!
- Add the Oreos: Roughly chop your Halloween Oreos into pieces. Sprinkle the Oreo pieces evenly over the melted chocolate. Gently press the Oreo pieces into the chocolate so they stick. I always let the kids help with this step. It’s a great way to get them involved!
- Sprinkle the Sprinkles: Now comes the fun part! Sprinkle your Halloween sprinkles generously over the Oreo pieces. Get creative with it! This is your chance to add some extra spooky flair.
- Chill: Place the baking sheet in the refrigerator for at least 30 minutes, or until the chocolate is completely set. This is the perfect time to fold that laundry pile! While your Halloween Oreo Bark is doing its thing, pour yourself that well-deserved coffee!
- Break it Up: Once the chocolate is set, remove the baking sheet from the refrigerator. Break the Halloween Oreo Bark into pieces. You can use a knife to cut it into squares, or you can just break it apart with your hands. I usually go with the hand method – less cleanup!
- Serve and Enjoy: Your Halloween Oreo Bark is ready to serve! Store any leftovers in an airtight container. I doubt you’ll have many, though!
Don’t panic if your Halloween Oreo Bark looks a little messy. That’s part of the charm! The important thing is that it tastes good. This Halloween Oreo Bark usually takes me about 20 minutes to prep and another 30 minutes to chill. That’s it! So easy, right?
Here is another easy Halloween treat idea, How to Make Halloween Candy Bark with Oreo Cookies – Chenée …
How We Love to Eat This!
Okay, now that you’ve made this amazing Halloween Oreo Bark, let’s talk about how to enjoy it! Here are some of our favorite ways to serve and eat this spooky treat.
The kids devour this Halloween Oreo Bark when I serve it with a glass of cold milk. It’s the perfect after-school snack or dessert. You can also crumble it over ice cream for an extra special treat.
This Halloween Oreo Bark is perfect for those crazy weeknight dinners when you need a little something sweet to get everyone to the table. I also love to bring it to Halloween parties or potlucks. It’s always a hit!
For presentation, I like to arrange the Halloween Oreo Bark pieces on a platter and sprinkle some extra sprinkles around. It makes it look extra festive! I’ve even been known to add some gummy worms or candy corn for an extra touch of Halloween fun.
Got leftovers? (Highly unlikely, but just in case!) You can crumble the Halloween Oreo Bark and use it as a topping for cupcakes or brownies. Or, you can melt it down and use it as a dip for pretzels or fruit.
One year, I tried making a peppermint version of this Halloween Oreo Bark recipe for Christmas. It was delicious! I just replaced the Halloween Oreos with peppermint Oreos and added some crushed candy canes. It was a huge hit!
My friend Sarah tried this Halloween Oreo Bark recipe last year, and she said her kids went wild for it! She even made a double batch because it disappeared so quickly.
Check out these similar Halloween Oreo Bark Recipes! Easy White Chocolate Halloween Oreo Bark – Lifestyle of a Foodie or White Chocolate Halloween Oreo Bark – Whisking Wolf
FAQs: Your Questions Answered
I know you probably have some questions about this Halloween Oreo Bark recipe. So, I’ve rounded up some of the most common questions I get and answered them for you!
- Can my picky eater handle this Halloween Oreo Bark? Most likely, yes! The combination of chocolate and Oreos is usually a winner with picky eaters. You can also customize it by using their favorite type of Oreos.
- What if I burn my chocolate when making Halloween Oreo Bark? (Asking for a friend… okay, it was me!) Don’t worry! It happens to the best of us. If your chocolate burns, unfortunately, you’ll have to start over. But the good news is, chocolate is cheap, and you’ll be a pro by the second batch. Use the microwave setting at 50% power instead of full. This will ensure that your chocolate doesn’t burn and ruin your Halloween Oreo Bark
- Can I make this Halloween Oreo Bark ahead for meal prep? Absolutely! This is one of the best things about this recipe. You can make it a day or two in advance and store it in an airtight container.
- Can I freeze the Halloween Oreo Bark? I wouldn’t recommend freezing it. The chocolate can sometimes get a little weird texture when it thaws. But honestly, it’s so easy to make that there’s really no need to freeze it.
- Can I use different types of chocolate in my Halloween Oreo Bark recipe? Yes! As I mentioned before, milk chocolate or dark chocolate would also work well. You can even do a combination of chocolates for a marbled effect.
- My Halloween Oreo Bark is too hard to break. What should I do? This usually happens if the chocolate is too thick or if you chill it for too long. Let it sit at room temperature for a few minutes before breaking it.
- Can I add other toppings to my Halloween Oreo Bark? Absolutely! Get creative! You can add M&Ms, pretzels, nuts, or any other candy you like. The possibilities are endless.
Here’s a similar treat your kids are sure to love! pumpkin spiced cookies
Final Thoughts:
This Halloween Oreo Bark is special to my family because it’s a tradition we’ve been doing for years. It’s a simple way to make memories and enjoy some quality time together in the kitchen. Plus, it’s just plain delicious!
Here are my top Halloween Oreo Bark mom hacks:
- Use parchment paper: This will make your life so much easier when it comes to clean-up.
- Don’t over-bake: Keep a close eye on the chocolate while it is in the microwave so it doesn’t burn
- Let the kids help: Get them involved in the process! They’ll love sprinkling the Oreos and sprinkles.
Here are a few family-tested Halloween Oreo Bark variations:
- Peanut Butter Cup Version: Add chopped peanut butter cups to the Halloween Oreo Bark.
- Pretzel Version: Add small pretzel sticks or broken pieces to the Halloween Oreo Bark.
- M&M Version: Add Halloween-themed M&Ms to the Halloween Oreo Bark
My oldest son loves the peanut butter cup version, while my daughter prefers the pretzel version. Me? I’m a fan of them all!
I hope you and your family enjoy making this Halloween Oreo Bark as much as we do. It’s a fun and easy way to celebrate the season, and it’s sure to bring some smiles to your kitchen table.
Remember, don’t be afraid to get creative and make it your own. Add your favorite toppings, use different types of chocolate, or even try a different flavor of Oreos. The most important thing is to have fun!
Here’s a delicious dessert that you also must try! Blondies with Maple Cream Cheese Frosting
So go ahead, my friend. Give this Halloween Oreo Bark recipe a try. I know you can do it! And I know your family will love it. You’ve got this, kitchen warrior! You have the tools you need to create a delicious Halloween Oreo Bark.
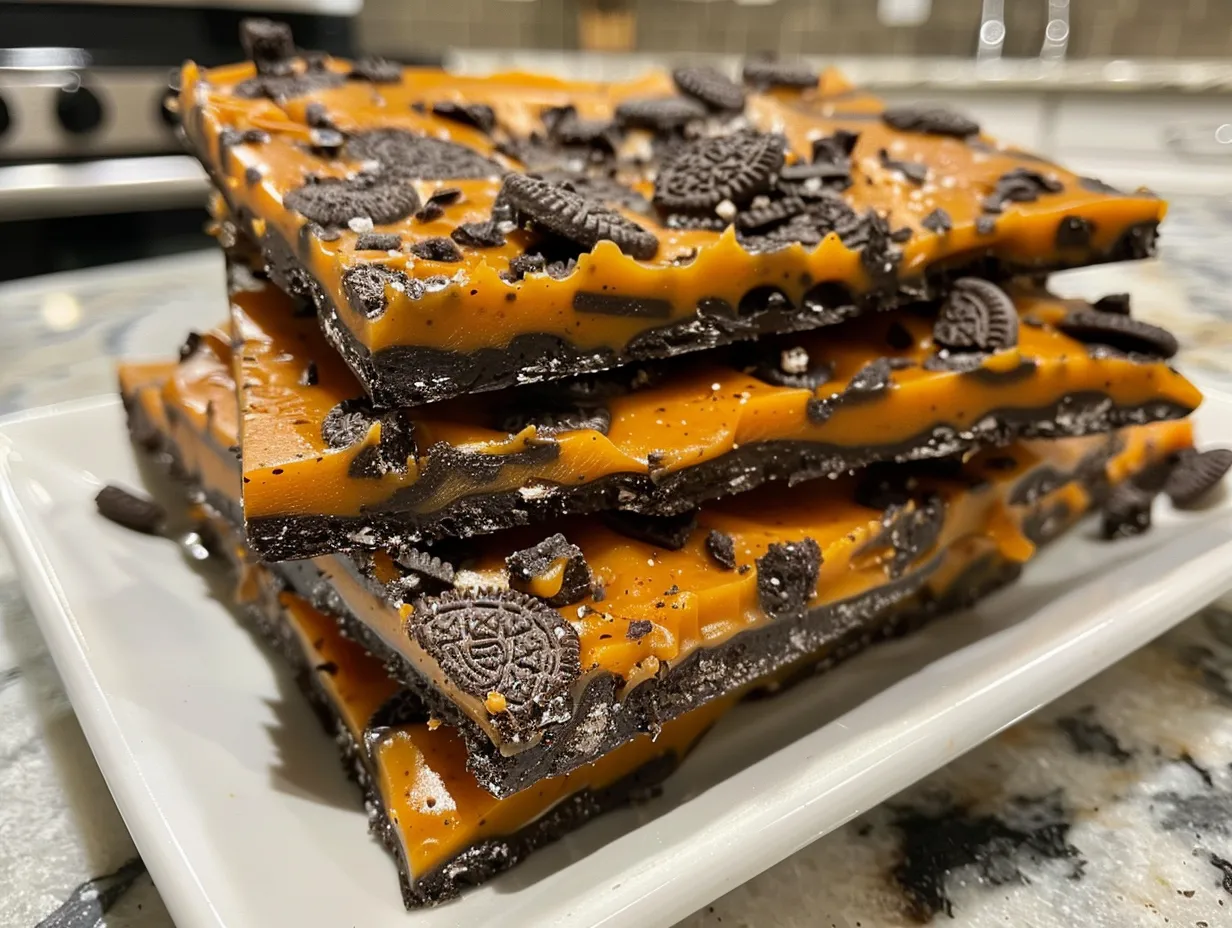
Halloween Oreo Bark

This Halloween Oreo Bark is a festive and easy no-bake treat perfect for parties or gifting. It features layers of melted chocolate, crushed Oreo cookies, and spooky Halloween sprinkles for a fun and delicious dessert.
- Prep Time: 15 minutes
- Cook Time: 5 minutes
- Total Time: 20 minutes
- Yield: About 24 pieces
- Category: Dessert
- Method: No-Cook
- Cuisine: American
Ingredients
- 16 oz white chocolate chips
- 1 package (about 14 oz) Oreo cookies, coarsely crushed
- Halloween sprinkles
- Optional: Orange food coloring (gel)
Instructions
- Melt the white chocolate chips in a double boiler or microwave in 30-second intervals, stirring until smooth. If desired, add a few drops of orange food coloring for a Halloween-themed color.
- Spread the melted chocolate evenly onto a parchment-lined baking sheet.
- Immediately sprinkle the crushed Oreo cookies over the melted chocolate, pressing them lightly into the chocolate.
- Add Halloween sprinkles generously over the Oreo cookies.
- Refrigerate for at least 30 minutes, or until the bark is firm.
- Break the bark into pieces and serve.
Notes
For a richer flavor, use dark chocolate instead of white chocolate. You can also add other Halloween candies, such as candy corn or gummy worms, to the bark.