Okay, Mom Squad, let’s talk Homemade Apple Crisp! Picture this: the leaves are turning, the air is crisp (pun intended!), and you need a dessert that screams “fall” but doesn’t require you to spend all day in the kitchen. This Homemade Apple Crisp is your answer. It’s warm, comforting, and so easy even I can make it after a day of school drop-offs, soccer practice, and endless laundry.
My youngest, Liam, refuses to eat apples any other way. And honestly? I get it. This Homemade Apple Crisp is magic. Are you ready to bring some dessert magic to your table? I promise, it’s easier than folding a fitted sheet.
INGREDIENTS You’ll Need:
Here’s the deal, fellow kitchen warriors. This Homemade Apple Crisp ingredient list is SHORT because mama doesn’t have time for fancy!
- 6-8 medium apples, peeled, cored, and sliced: I usually go for a mix of Granny Smith and Honeycrisp. The Granny Smith gives it a little tartness, and the Honeycrisp adds sweetness.
- 1/2 cup granulated sugar: This is what makes it kid-friendly. If you are feeling fancy, you can try brown sugar.
- 2 tablespoons all-purpose flour: This helps thicken the apple juices.
- 1 teaspoon ground cinnamon: Because what is Homemade Apple Crisp without cinnamon?
- 1/4 teaspoon ground nutmeg: Optional, but adds a little extra warmth.
- 1 cup all-purpose flour: For the crumble topping.
- 1 cup rolled oats: Adds a nice texture to the apple crisp topping.
- 1 cup packed brown sugar: Adds a deeper sweetness and a little molasses flavor.
- 1/2 cup cold butter, cut into cubes: This is KEY for that crumbly topping.
- 1/2 teaspoon baking powder: Helps keep things fluffy.
Mom-Tested Ingredient Swaps:
No worries if you don’t have all-purpose flour on hand – I use gluten-free all the time in my Homemade Apple Crisp. It works just as well! You can grab everything for this at Target while doing your regular grocery run.
Budget-Friendly Alternatives:
This Homemade Apple Crisp doesn’t have to break the bank. Use whatever apples are on sale! Frozen apples are another great option if you have them on hand and they’re cheaper too.
Ingredient Prep Shortcuts:
I’m all about saving time. I buy the pre-sliced apples from the store. It saves time in my beautiful chaos kitchen. I also sometimes measure out the dry ingredients for the topping ahead of time.
Storage Wisdom:
Leftover Homemade Apple Crisp? Is that even a thing? Okay, if you have leftovers, store them in an airtight container in the fridge for up to 3 days. I usually heat it up in the microwave for a minute or two before serving.
Personal Preferences:
My family loves when I add a handful of chopped walnuts to the topping. It gives it a little extra crunch.
Let’s Make it Happen!
Alright, kitchen warriors, let’s get this Homemade Apple Crisp party started!
- Preheat your oven to 375°F (190°C). While the oven is preheating, grease a 9×13 inch baking dish. I use cooking spray because, well, easy cleanup!
- Prepare the apple filling: In a large bowl, combine the sliced apples, granulated sugar, 2 tablespoons of flour, cinnamon, and nutmeg (if using). Toss everything together until the apples are evenly coated.
- Pour the apple mixture into the prepared baking dish. Spread the apples out in an even layer.
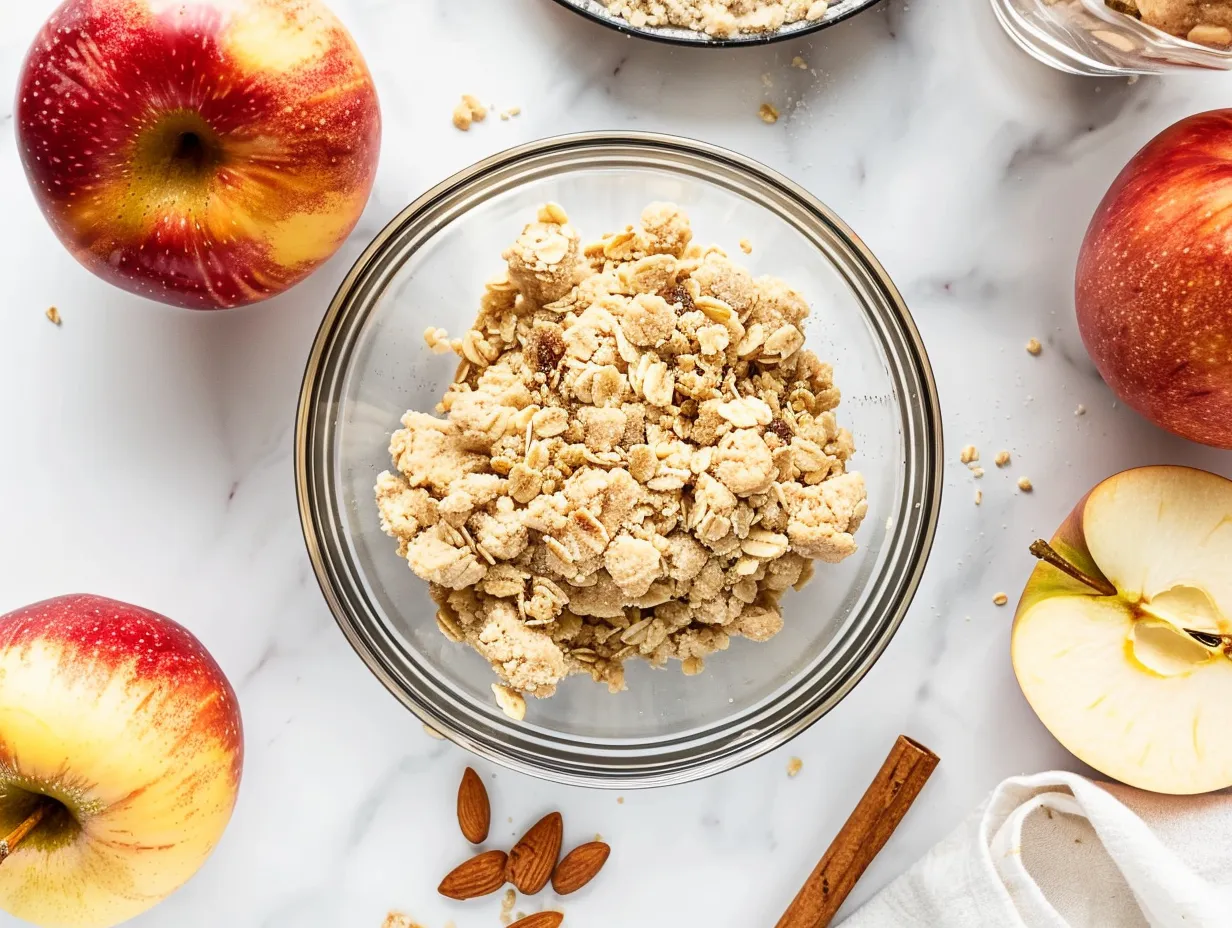
- Make the crumble topping: In a separate bowl, combine the flour, rolled oats, brown sugar, and cold butter. Use a pastry blender or your fingers to cut the butter into the dry ingredients until the mixture resembles coarse crumbs. Trust me, this step is crucial for that perfect apple crisp topping.
- Sprinkle the crumble topping evenly over the apple filling. Make sure the apples are mostly covered.
- Bake for 30-40 minutes, or until the topping is golden brown and the apples are tender. Your Homemade Apple Crisp should smell amazing by now.
- Let cool slightly before serving. This is the hardest part, I know. But trust me, you don’t want to burn your tongue. This easy apple crisp is best served warm!
Personal Timing Tips:
In my chaotic kitchen, this Homemade Apple Crisp usually takes about an hour from start to finish. But hey, that includes the time it takes to referee sibling squabbles and answer a million questions about homework!
What to Do While Waiting:
Perfect time to fold that laundry pile or sneak in a few minutes of your favorite show! You deserve it, momma.
Sensory Cues:
Your Homemade Apple Crisp should smell amazing by now – a warm, cinnamon-y, apple-y dream!
Common Concerns:
Don’t panic if your Homemade Apple Crisp looks a little bubbly around the edges. That just means the juices are doing their thing!
Family-Tested Shortcuts:
I sometimes use pre-made crumble topping from the store. Don’t judge! It saves me time, and the kids don’t even notice the difference.
Personal Cooking Confessions:
Here’s where I used to mess up my Homemade Apple Crisp – I didn’t use cold butter for the topping. It makes a huge difference! Don’t make my mistake!
While your Homemade Apple Crisp is doing its thing, pour yourself that well-deserved coffee! You earned it. For another quick and easy dessert, you should check out these Hawaiian Pineapple Carrot Cream Cake.
How We Love to Eat This!
Okay, so how do we devour this Homemade Apple Crisp in my house? Let me tell you…
The kids devour this Homemade Apple Crisp when I serve it with a scoop of vanilla ice cream. It’s their absolute favorite. I also love to add a dollop of whipped cream on top.
This Homemade Apple Crisp is perfect for those crazy weeknight dinners when you need a quick and easy dessert. It’s also a great option for potlucks and holiday gatherings.
Presentation Tips:
I’m not a fancy mom, but I do like to sprinkle a little extra cinnamon on top before serving. It just makes it look a little more special.
Leftover Ideas:
If you have any leftover Homemade Apple Crisp (which is rare), you can use it to top yogurt or oatmeal for breakfast. Or, you know, just eat it straight from the fridge. No judgment here.
Seasonal Variations:
In the fall, I like to add a little pumpkin pie spice to the apple filling. In the winter, I sometimes add a splash of apple cider.
Guest/Friend Reactions:
Everyone always raves about my Homemade Apple Crisp. It’s a crowd-pleaser for sure. They think I spent hours on it, but I just smile and nod.
FAQs: Your Questions Answered
Alright, Mom Squad, let’s tackle those burning questions about Homemade Apple Crisp! I know you have them.
Can my picky eater handle this Homemade Apple Crisp?
You know your picky eater best, but in my experience, the sweetness of the apples and the crumble topping usually wins them over. Try serving it with a scoop of vanilla ice cream – that always helps!
What if I burn my Homemade Apple Crisp? (Asking for a friend… okay, it was me!)
Don’t panic! If the topping starts to get too dark, cover the dish with foil for the remaining baking time. This will prevent it from burning.
Can I make this Homemade Apple Crisp ahead for meal prep?
You can definitely prep the apple filling and the crumble topping ahead of time. Store them separately in the fridge, and then assemble the Homemade Apple Crisp just before baking.
Can I use different kinds of apples?
Absolutely! I like to use a mix of Granny Smith and Honeycrisp, but you can use whatever apples you have on hand. I would suggest that you try Granny Smith apples for this apple crumble recipe.
Can I add nuts to the topping?
Of course! I love to add chopped walnuts or pecans to the crumble topping. It adds a nice crunch and a little extra flavor.
Is it okay to use a frozen apple crisp filling for this recipe?
Sure! If you want to take a shortcut, using frozen apple crisp filling can save you some time. Make sure to adjust the baking time accordingly.
What can I serve with this baked apple dessert?
I love serving it with vanilla ice cream or whipped cream. It’s also great with a cup of coffee or tea. You can also try pairing this easy apple crisp with a warm cup of this Crockpot Cinnamon Applesauce.
Final Thoughts:
This Homemade Apple Crisp is more than just a dessert to my family. It’s a memory maker, a comfort food, and a reminder that even in the midst of the beautiful chaos, we can always find time for a little sweetness. It also reminds me of another family favorite. You should definitely check out this apple crisp recipe!
My Homemade Apple Crisp Mom Hacks:
- Pre-slice the apples: If you’re short on time, buy pre-sliced apples from the store.
- Use pre-made crumble topping: No shame in taking shortcuts!
- Double the recipe: Make a double batch and freeze half for later.
Family-Tested Homemade Apple Crisp Variations:
- Caramel Apple Crisp: Drizzle caramel sauce over the top before baking.
- Apple Cranberry Crisp: Add a cup of fresh or frozen cranberries to the apple filling. My oldest loves this version.
- Gingerbread Apple Crisp: Add a teaspoon of ground ginger to the apple filling and the crumble topping. This is my husband’s favorite.
I hope you give this Homemade Apple Crisp a try. It’s a recipe that’s been passed down through my family for generations, and I know it will become a favorite in your home too. Don’t be afraid to experiment and make it your own! Find more amazing fall dessert recipes to inspire you!
Happy baking, Mom Squad! You’ve got this! And if your Homemade Apple Crisp isn’t perfect? Who cares! It’ll still taste delicious. And if you need more inspiration, check out this apple crumble recipe, this easy apple crisp recipe, or this apple crisp topping!
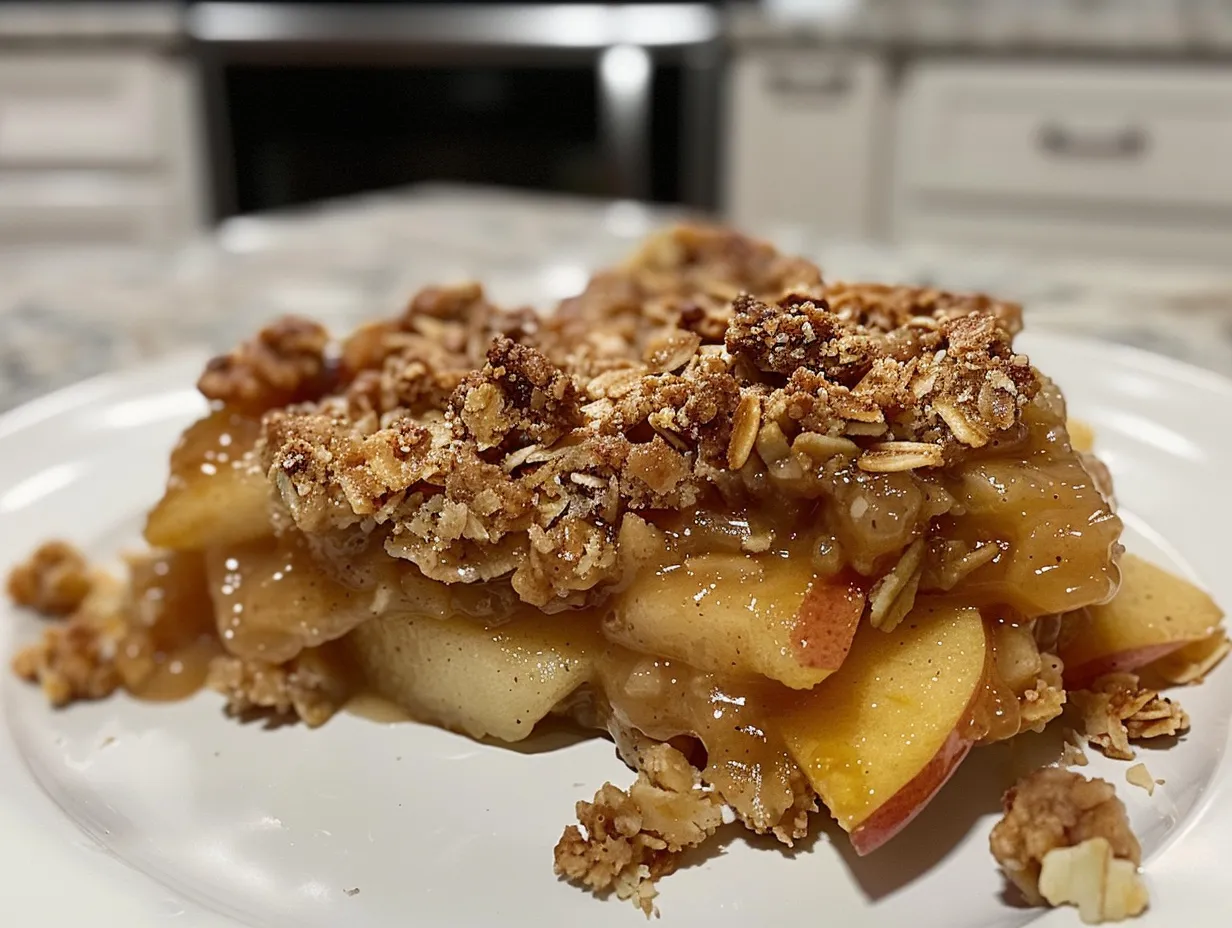
Homemade Apple Crisp
This homemade apple crisp is a comforting and easy dessert, perfect for autumn. Sweet and tender apples are topped with a buttery, crumbly oat topping and baked to golden perfection.
- Prep Time: 20 minutes
- Cook Time: 35 minutes
- Total Time: 55 minutes
- Yield: 6 servings
- Category: Dessert
- Method: Baked
- Cuisine: American
Ingredients
- 6 medium apples, peeled, cored, and sliced
- 1 tablespoon lemon juice
- 1/2 cup granulated sugar
- 1 teaspoon ground cinnamon
- 1/4 teaspoon ground nutmeg
- For the Topping:
- 1 cup all-purpose flour
- 1 cup rolled oats
- 1 cup packed brown sugar
- 1/2 teaspoon baking powder
- 1/4 teaspoon salt
- 1/2 cup (1 stick) cold unsalted butter, cubed
Instructions
- Preheat oven to 375°F (190°C).
- In a large bowl, toss the sliced apples with lemon juice, granulated sugar, cinnamon, and nutmeg.
- Transfer the apple mixture to a 9-inch square baking dish.
- In a separate bowl, combine flour, oats, brown sugar, baking powder, and salt.
- Cut in the cold butter using a pastry blender or your fingers until the mixture resembles coarse crumbs.
- Sprinkle the topping evenly over the apples.
- Bake for 30-35 minutes, or until the topping is golden brown and the apples are tender.
- Let cool slightly before serving.
Notes
Serve warm with a scoop of vanilla ice cream or a dollop of whipped cream for an extra treat!